LEARN@IGP IGP:Digital Publisher Management-2016
7
Projects
Main | Account User | Projects
The Projects page will display the list of projects in you as an Account User have been granted access by an Administrator which contains documents which you are collaborating on as an author, editor, production editor or reviewer.
To view the list of projects you have access to in your logged-in account, click on Projects from the Toolbar.
To collaborate in a Project

To Start
- From theToolbar, click Projects. This will open the available Projects.
- The Projects Screen displays a filter bar to sort projects by Name, Tasks or Date and the list of Projects along with a short description and detail of each, to which you have access.
To collaborate in a project
- Browse for the Project in which you want to collaborate.
- After finding the particular project, click on the name of the project.
- The Option Bar of the project will appear below the Project name.
- From the list of options, click on Go to documents.
- The list of documents under the particular project will appear on a new page.
- Click on the title of the particular document in which you want to collaborate. The Option Bar of the document will appear below the Document Title.
- From the list of options, click Edit to launch the document in IGP:Writer.
- Now you can start collaborating in the creation of the document.
Create a new document under a Project
To Start
- From the Main Page, click Projects under the Account User section. This action will transfer you to the Projects Screen.
- The Projects Screen displays a filter bar to sort projects by name, tasks or date and the list of existing projects along with a short description and detail of each.
- Browse for the Project where you want to add a document.
- After finding the particular project, click on the name of the project.
- The Option Bar of the document will appear below the Project name.
- From the list of options, click on Go to documents.
- The list of documents under the particular project will appear on a new page.
To create a new document under a Project
- From the top right toolbar, click New Document to add a new document under the particular project.
- The Add New Document form will appear.
- Fill in the blank fields.
- Click Save, to add the new document.
- To close the form without adding a new document, click Cancel. This action will take you back to the Administration-Projects page.
Other Options under the Document Title
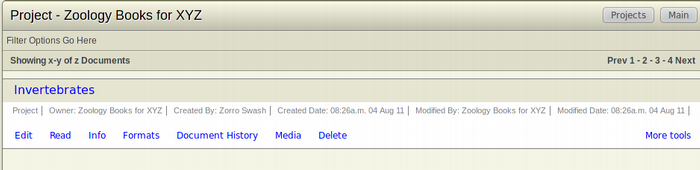
- Read: When a user clicks the Read button, the application launches IGP:Reader in a new window.
- Info: When a user clicks the Info button, the metadata form of the document expands to show all available metadata and displays the metadata in an expanded window. Modification of the metadata can be done here. Click Save to save the modified metadata.
-
Metadata: When an Account User clicks the Metadata option, the application opens the Document Processing Set-up form of the particular document. The Document Processing Set-up form contains a list of Processing options divided into various sections.
- Formats: When a user clicks the Formats button, the interface expands with an Ajax call to show the generate format options. This contains all current options as check boxes.
- Document History: When a user clicks the Document History button, the document history of the particular document expands showing the details of the document as well as each changes done to the document and on what date and time.
- Media: When a user clicks the Media button, the interface expands with an Ajax call to launch the Media Manager window. Media Manager is where you maintain and access images, graphics and other media used in a document.
- Delete: When a user clicks the Delete button, a confirmation dialog box appears to confirm the deletion of the document. Click OK to delete the document or Cancel to continue without deleting the document.
- More Tools: More tools provide with various options regarding the control and manipulation of the document.
The options are:
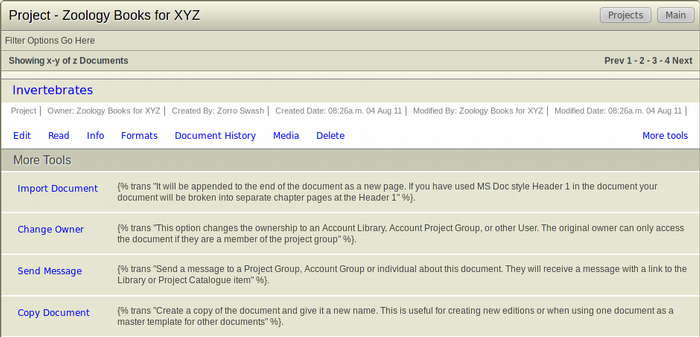
- Import Document: When a user clicks Import Document, the document is appended to end of a document as a new page.
- Change Owner: The ownership of a document can be transferred to an Account Library, an Account Project Group or another user. When a document owner clicks the Change Owner button, a dropdown menu will appear. Select the new owner of the document and click OK. If it is a User, click User from the dropdown menu, an entry field will appear on the right. Start typing the name of the user. Different usernames will appear relevant to the letters you type. Select the user of your choice and click OK.
- Copy Document: This option helps in creating a copy of the document. This is useful for creating new editions or when using one document as a master template for other documents.