AZARDI:Content Fulfilment User Manual
36
Internationalization / Localization
Overview
IGP:Azardi Content Fulfilment (ACF) contains the translation maintenance tools for localization of the IGP:ACFS as well as the IGP:ANALYTICS interface.
This approach focuses multi-lingual tasks into one application rather than dividing it across multiple applications and processes. It also makes the task of localization accessible to "normal" users through a relatively intuitive interface and localization terms are easy to review and change as required.
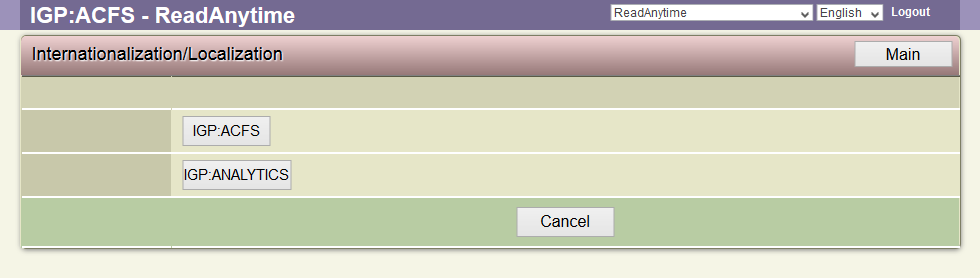
Figure xx Your Caption
Steps for adding new language in Internationalization / Localization (i18n)
1. Log on to IGP:ACF.
2. Go to the Internationalization/Localization (i18n) page under Maintenance.
3. Select the application to localize.
4. Create the Translation Language.
5. Create Translation List.
6. Edit Translation List.
7. Update and Publish the translated terms.
8. Click on the Language Selector located in Top Right toolbar in any IGP:ACF page.
9. Select the language and see the reflected change in the interface.
Create a Translation Language
1. You must have maintainer privileges to create a new Translation Language.
2. From the Main Page, click on Internationalization/Localization under Maintenance.
3. This action will transfer you to the Internationalization-Localization Page.
4. Choose the application you want to localize.
5. The i18n page displays a Drop-down menu that features a list of languages along with their respective Language code.
6. From the List of languages in the Dropdown menu, select the language you want to create a translation of to localize the application interface.
7. To create translations of the language, select the language and click Create.
8. You will be displayed a message “Translation is being processed, please wait...” followed by the completion message “Message catalog generated.”
9. To generate the Translation List, click Edit button.
10. The Edit translations Drop-down menu will appear on the screen.
11. From the Drop-down menu select the particular language for which you want to generate the Translation List.
12. To generate the Translation List, click Edit.
13. A new page will open that displays the lists of terms to be translated from the base language and a respective blank field on the right of its term.
14. Key in the translation of the terms in the blank field.
15. After making all the necessary translations, click Update to store the translated terms in the database.
16. To reflect the changes and to view the translated terms, click Publish.
Note: You can translate only the terms that you want.There is no hard and fast rule, that all the terms need to be translated.
Delete a Translation Language
You can also delete a created Translation Language. But when you delete a translation language, the list of translated terms also get deleted. So approach with caution and think carefully before deleting any language from the Language List.
1. You must have maintainer privileges to delete a created Translation Language.
2. From the Main Page, click on Internationalization/Localization under Maintenance.
3. This action will transfer you to the Internationalization-Localization Page.
4. Choose the application for which you want to delete the translation language.
5. From the top right toolbar, click the Edit button.
6. The Edit translations Drop-down menu will appear on the screen.
7. From the Drop-down menu select the particular language you want to delete from the Translation List.
8. To delete the language, click Delete.
Warning: You cannot recover a Translation List of a Language once it is deleted. The list of translated terms of the language will also get deleted. So, proceed with caution when it comes to deleting a Translation List.